Does this look familiar?
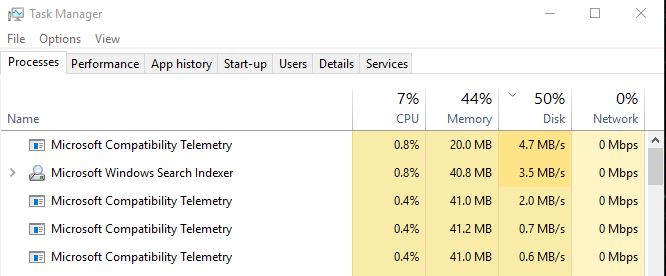
If the Microsoft Compatibility Telemetry process has recently started causing very high disk usage on your Windows 10 system, don’t worry.
We have a quick fix for you.
Method 1: Using Group Policy Editor
Method 2: Using Registry Editor
Method 3: Updating device drivers
Method 1: Using Group Policy Editor
1) On your keyboard, press the Windows logo key ![]() and R at the same time to invoke a Run command.
and R at the same time to invoke a Run command.
2) Type gpedit.msc and click OK.
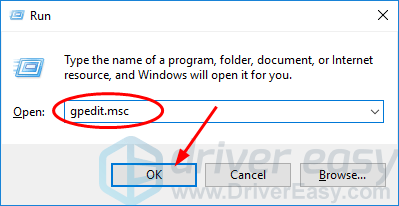
Note: If you cannot find gpedit.msc on your Windows 10, here is the method to got it.
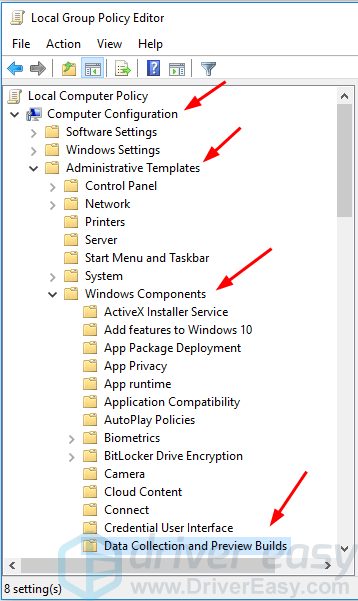
3) Go to Computer Configuration > Administrative Templates > Windows Components > Data Collection and Preview Builds.
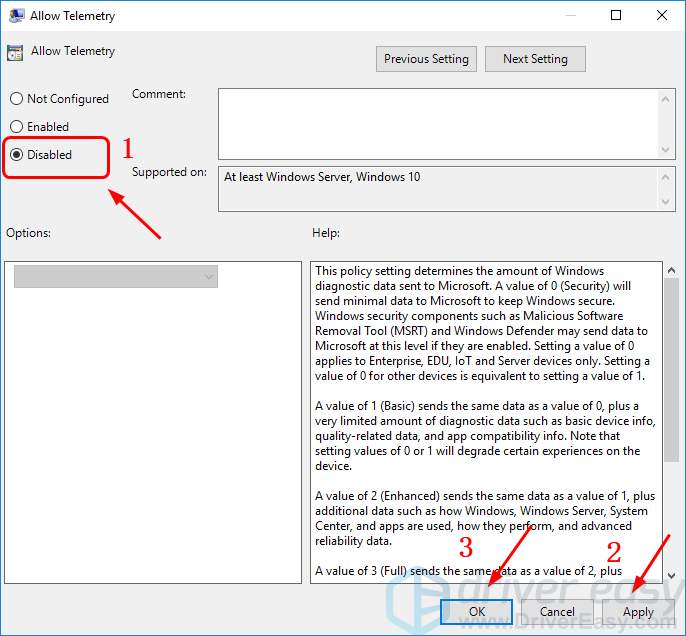
4) Double-click Allow Telemetry.
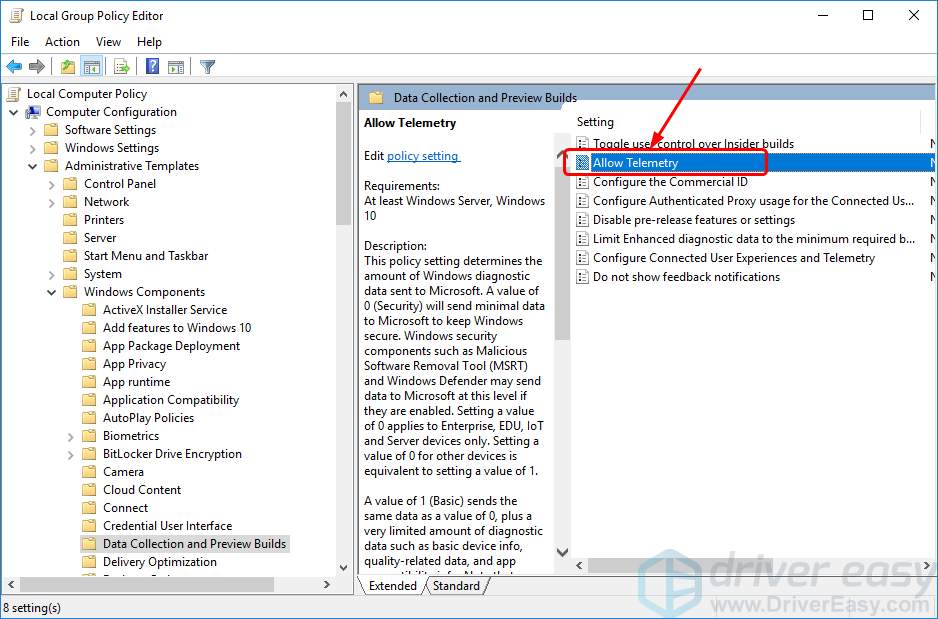
5) Select Disabled, then click Apply > OK.
6) On your keyboard, press Ctrl + Alt + Esc keys (at the same time) to open your Task Manager, check to see if Microsoft Compatibility Telemetry takes up a normal disk usage.
Method 2: Using Registry Editor
1) On your keyboard, press the Windows logo key ![]() and R at the same time to invoke a Run command.
and R at the same time to invoke a Run command.
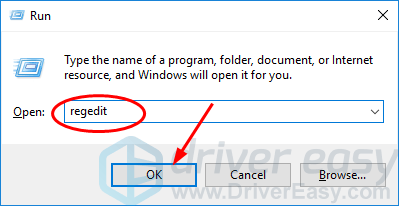
2) Type regedit in the box and click OK.
3) Click YES when prompted by User Account Control.
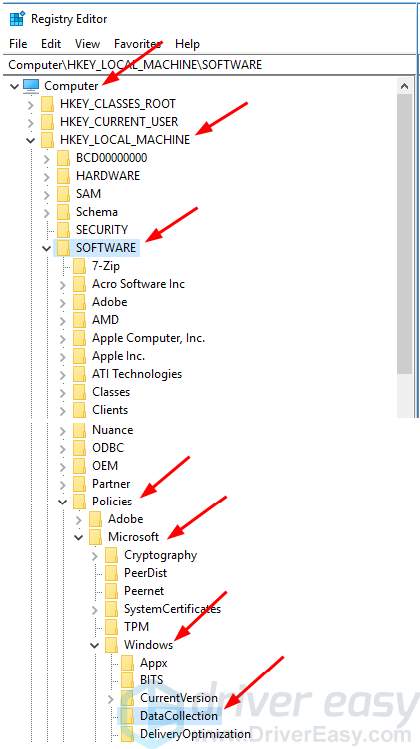
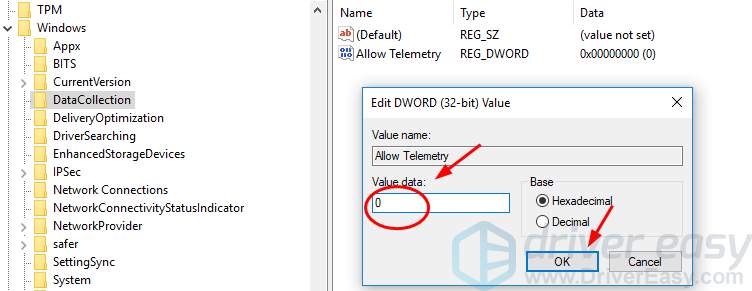
4) Go to HKEY_LOCAL_MACHINE > SOFTWARE > Policies > Microsoft > Windows > DataCollection.
5) Double-click Allow Telemetry.
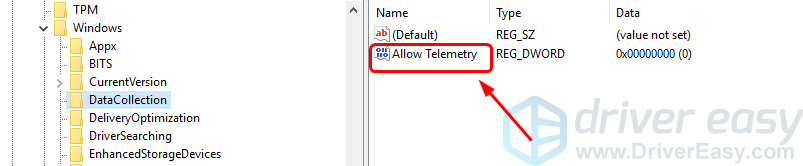
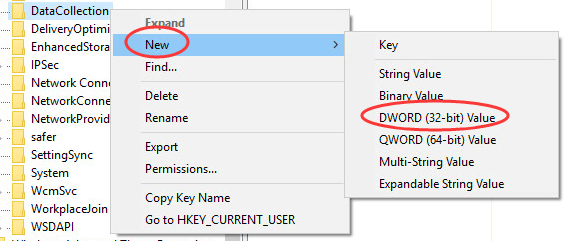
NOTE: If you can’t find Allow Telemetry, create it manually: Right-click on DataCollection and choose New > DWORD (32-bit) Value. Then name the new value Allow Telemetry.
6) Set Value date to 0 (zero) and click OK.
7) On your keyboard, press Ctrl + Alt + Esc keys (at the same time) to open your Task Manager, check to see if Microsoft Compatibility Telemetry takes up a normal disk usage.