Just like any other OS, Android can be installed on your PC. In past we’ve shown How to Install Android on PC, Netbook, Install Android 2.0 in VMWare, Virtualbox, install Android on iPhone. Now its time to install Android 2.2 Froyo on PC dualboot with windows/Linux.
Installing Android Froyo on PC
Note: Steps of installation are essentially the same whether you are installing Natively or Virtualize in VMWare, Virtualbox.
Pre-requisite: Download VM ISO Image, Other Native installation downloads
 Note for Vmware/ VirtualBox installation (ignore if installing Natively): Change your virtual disk type to be IDE because the default type in VMware is SCSI, and Android-x86 kernel is not configured to support SCSI. Here’s how to create new VM in VMWare:
- Create a virtual machine.
- Edit virtual machine settings after the virtual machine created.
- Choose the hard disk and remove it.
- Add a hard disk to create a new virtual disk, then you can choose IDE as your virtual disk type.
- When finished, you can install android-x86 normally.
Installation
1. Burn the iso image to cdrom, or create a bootable USB disk (recommended). For creating Bootable USB, use Unetbooting (checkout this Howto video) or Linux live usb.
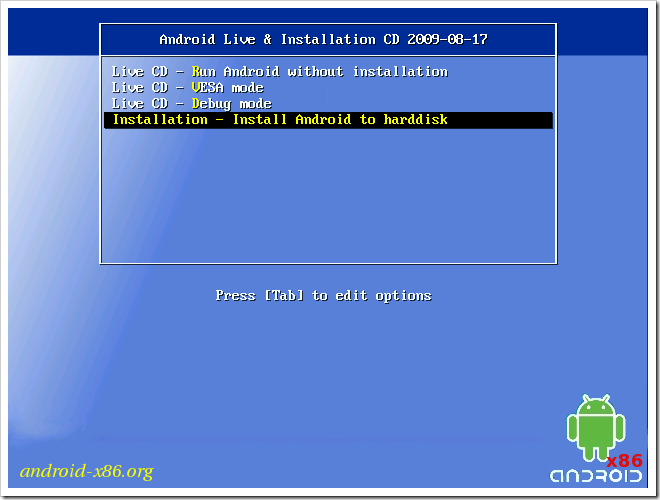
2. Boot from the Android-x86 installation CD/USB, choose the ‘Install Android to harddisk’
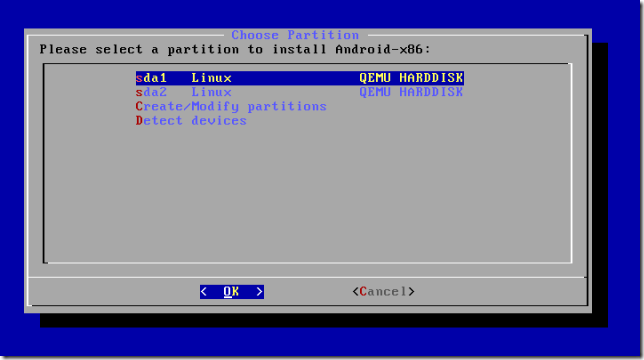
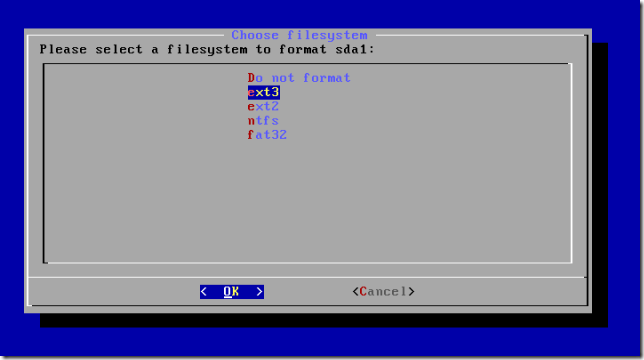
3. Next we choose the partition where you would install Android x86. You can create or modify listed partitions. Its even possible to install Android to an external disk like USB drive. In case your device isn’t shown in list, try ‘Detect devices’. The good part is that Android installation can co-exist with existing Linux partition, without formatting, provided you’ve ext3 Filesystem on it.
4. Next, Android installation asks you to install Grub bootloader. Choose yes. If there is an NTFS partition in the installed disk, the installer will ask if you want to create a boot item for Windows. You would have to add other bootable OSes to/grub/menu.lst manually e.g.
title Windows rootnoverify (hd0,0) chainloader +1
Here first 0 represents Drive and 2nd represents partition number. 0,0 represents first partition of first disk.
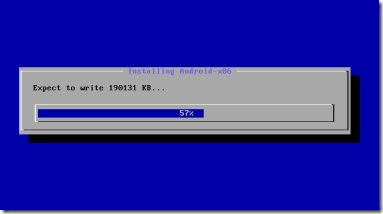
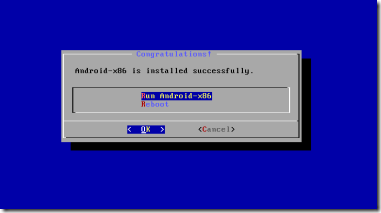
Sit back and relax as the installation finishes. You should see a successful screen like the one below. You are now ready to reboot into Android!
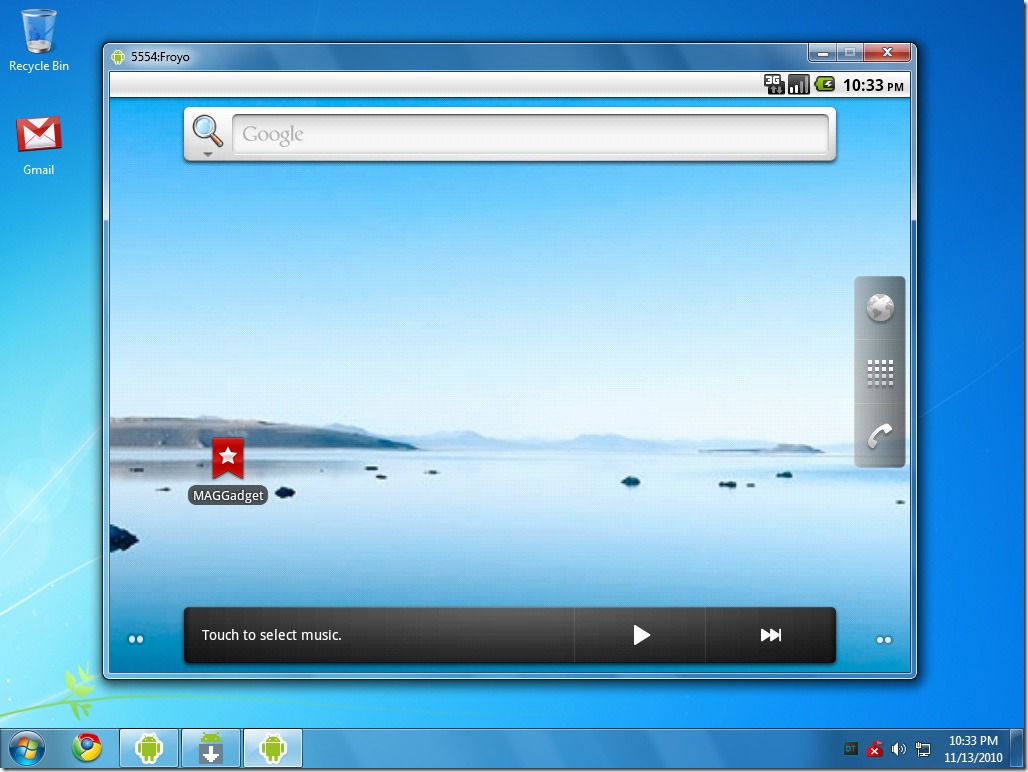
And there you have it, Up and running:
