ส่งค่าข้อมูลในรูปแบบ GET

อย่างที่บอกแล้วครับว่าการส่งข้อมูลแบบ GET จะส่งค่าผ่าน URL โดยตรง โดยที่จะระบุชื่อตัวแปรแยกเป็นตัว ๆ คั่นด้วยเครื่องหมาย & ตามรูปแบบข้างล่างนี้

http://<ชื่อ Domain>/<ชื่อ Folder>/<ชื่อไฟล์ที่จะเอาค่าไปประมวลผล.php>?<ชื่อตัวแปรที่ 1=ค่า>&<ชื่อตัวแปรที่ 2=ค่า>

Read More

การรับข้อมูลที่ส่งมาจากฟอร์ม Form นั้น มีวิธีการส่งอยู่ 2 แบบนั่นคือ แบบ GET กับแบบ POST แต่เป็นวิธีการส่งข้อมูลให้กับ server ทั้งคู่ดังนั้นเมื่อเริ่มศึกษาการเขียนเว็บไซต์คนส่วนใหญ่จะสับสนถึงความแตกต่างในการใช้งานระหว่าง GET และ POST ว่าควรใช้งานในลักษณะใดซึ่งสามารถสรุปได้สั้นๆ ดังนี้

  • GET ใช้สำหรับรับการดึงข้อมูลจากฐานข้อมูลของเว็บไซต์มาแสดงผล
  • POST ใช้สำหรับการเพิ่มหรือเปลี่ยนแปลงข้อมูลต่างๆที่อยู่ในฐานข้อมูลของเว็บไซต์

นอกจากนี้ยังมีรายละเอียดปลีกย่อยต่างๆเพิ่มเติมที่จะกล่าวถึงต่อไปดังนี้

Read More

This article explains how to install PHP 8 and Apache 2.4 on Windows 10 (64-bit).

Linux and macOS users often have Apache and PHP pre-installed or available via package managers. Windows 10 requires a little more effort. The steps below may work with other editions of Windows, PHP, and Apache, but check the documentation of each dependency for specific instructions.

Read More

A handy feature often used on Windows computers is creating shortcuts. Shortcuts are handy ways to link to items such as folders, files, apps, and more. To better understand shortcuts, look at our Understanding Shortcuts article.

When you create a shortcut Windows creates an icon that looks similar to the item your shortcut links to and will have two additional identifiers—a curved arrow icon in the lower-left corner of the icon and the text “- Shortcut” added at the end of the shortcut’s name. If you find that you typically rename your shortcut by removing the “- Shortcut” text or you would prefer to change the appended text, you can do so using the Registry Editor within Windows 10. In two other tips, we have covered how to modify the default name for new folders and how to change the name of copied folders. If you followed those two articles much of what you do in this tip will be familiar.

Read More

How to Check MySQL Database and Table Size

There are three ways to check MySQL database and table sizes:

1. Using phpMyAdmin.

2. Using the SELECT statement.

3. Using MySQL workbench.

All methods provide ways to check the size for:

  • A single database.
  • All databases.
  • Table size for a single database.
  • Table size for all databases.

Choose a method that best fits your configuration and follow the step-by-step instructions below.

Read More

วันนี้จะมาเขียนข้อมูลเกี่ยวกับ sql ที่ได้เขียนมา โจทย์ก็ตามหัวข้อเลยครับ คือให้ดึงข้อมูลจากตาราง 7 วันล่าสุด และถ้าวันไหนไม่มีข้อมูลให้โชว์ Value เป็น 0

คือปกติเวลาคิวรี่ข้อมูล มันจะแสดงข้อมูลเฉพาะที่มีขึ้นมาแสดงใช่ไหมครับ เช่น สมมุติข้อมูลมี ดังภาพด้านล่าง

ข้อมูลในตาราง challenge_table

เวลาเราคิวรี่ข้อมูล 7 วันล่าสุด ก็จะใช้โค้ดประมาณนี้

SELECT * FROM challenge_table WHERE challenge_date BETWEEN DATE_SUB(NOW(), INTERVAL 7 DAY) AND NOW()

Read More

RS232 Connector Pin Assignment
RS232 Cable Information
DB 9 and DB 25 Connection

The original pin layout for RS232 was developed for a 25 pins D sub connector.  In this pin-out provisions were made for a secondary communication channel. In practice, only one communication channel with accompanying handshaking is present. For that reason the smaller 9 pin version is more commonly used today.
The diagrams show the signals common to both connector types in black. The signals only present on the larger connector are shown in red.
Note: The protective ground is assigned to a pin at the large connector, in DB9 version protective ground connector to encloser.
For the DEC modified modular jack. Although is differential (the receive and transmit have their own floating ground level) still possible to connect RS232 compatible devices with this interface.

Read More

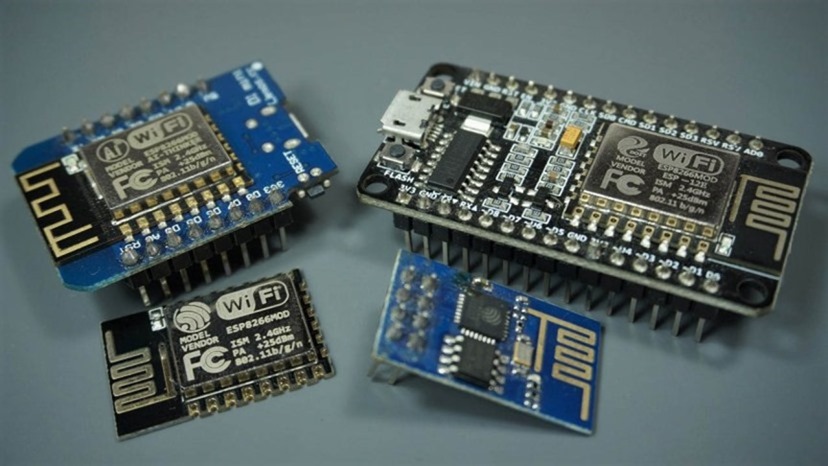
This article is a guide for the ESP8266 GPIOs: pinout diagrams, their functions and how to use them.

ESP8266-Pinout-GPIO-Pin-Reference-Guide

The ESP8266 12-E chip comes with 17 GPIO pins. Not all GPIOs are exposed in all ESP8266 development boards, some GPIOs are not recommended to use, and others have very specific functions.

With this guide, you’ll learn how to properly use the ESP8266 GPIOs and avoid hours of frustration by using the most suitable pins for your projects.

We also have a guide for the ESP32 GPIOs: ESP32 Pinout Reference: Which GPIO pins should you use?

Read More