บทความนี้เราจะมาติดตั้ง Web Server แบบง่ายๆ ด้วยคำที่คุ้นหู คือ LAMP (หลอดไฟๆๆๆๆๆ) เริ่มกันเลย
L ตัวแรกคือ Linux , A คือ Apache หรือ httpd, M คือ MySQL หรือ MariaDB สุดท้าย P คือ PHP ครับ
0. ทำการ Update Package list จาก Repository ก่อนแล้วกันครับ
[root@server ~]#yum update -y
1. ทำการติดตั้ง HTTP Server ด้วย httpd package และคำสั่งให้เปิด Service ดังนี้
[root@server ~]#yum install -y httpd[root@server ~]#systemctl start httpd[root@server ~]#systemctl enable httpd
ตรวจสอบ httpd services
[root@server ~]#systemctl status httpd● httpd.service — The Apache HTTP ServerLoaded: loaded (/usr/lib/systemd/system/httpd.service; disabled; vendor preset: disabled)Active: active (running) since Thu 2017–03–09 01:51:52 ICT; 1min 56s agoDocs: man:httpd(8)man:apachectl(8)Main PID: 2158 (httpd)Status: “Total requests: 0; Current requests/sec: 0; Current traffic: 0 B/sec”CGroup: /system.slice/httpd.service├─2158 /usr/sbin/httpd -DFOREGROUND├─2159 /usr/sbin/httpd -DFOREGROUND├─2160 /usr/sbin/httpd -DFOREGROUND├─2161 /usr/sbin/httpd -DFOREGROUND<br>├─2162 /usr/sbin/httpd -DFOREGROUND└─2163 /usr/sbin/httpd -DFOREGROUNDMar 09 01:51:52 server01.thaiops.com systemd[1]: Starting The Apache HTTP Serv….Mar 09 01:51:52 server01.thaiops.com systemd[1]: Started The Apache HTTP Server.Hint: Some lines were ellipsized, use -l to show in full.[root@thaiops01 ~]#[root@thaiops01 ~]# ss -tlnState Recv-Q Send-Q Local Address:Port Peer Address:PortLISTEN 0 128 *:22 *:*LISTEN 0 128 :::80 :::*[root@thaiops01 ~]#
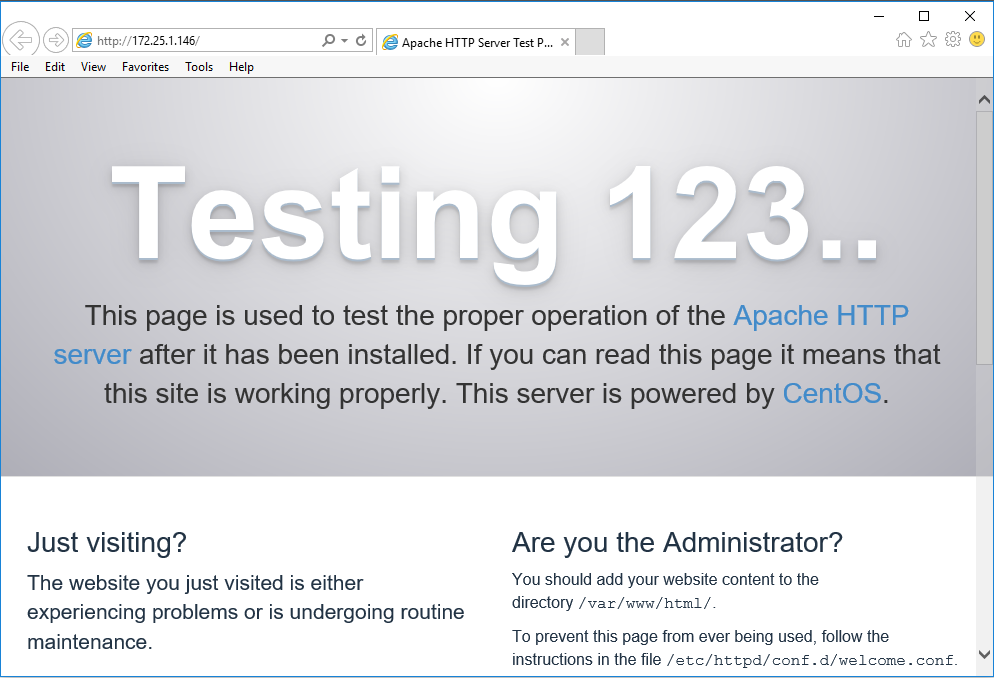
ทดสอบการใช้งานโดยเปิด Web Browser แล้วพิมพ์ช่อง URL เป็น http://IP-Address-Server

2. ติดตั้ง SQL Server และ Configuration ด้วย MariaDB ใช้คำสั่งดังนี้
[root@thaiops01 ~]#yum install -y mariadb mariadb-server mysql[root@thaiops01 ~]#systemctl start mariadb[root@thaiops01 ~]#systemctl enable mariadbCreated symlink from /etc/systemd/system/multi-user.target.wants/mariadb.service to /usr/lib/systemd/system/mariadb.service.[root@thaiops01 ~]#
ทำการ Secure Installation ของ Mariadb ใช้คำสั่งดังนี้
[root@thaiops01 ~]# mysql_secure_installationNOTE: RUNNING ALL PARTS OF THIS SCRIPT IS RECOMMENDED FOR ALL MariaDBSERVERS IN PRODUCTION USE! PLEASE READ EACH STEP CAREFULLY!In order to log into MariaDB to secure it, we’ll need the currentpassword for the root user. If you’ve just installed MariaDB, andyou haven’t set the root password yet, the password will be blank,so you should just press enter here.Enter current password for root (enter for none):OK, successfully used password, moving on…Setting the root password ensures that nobody can log into the MariaDBroot user without the proper authorisation.Set root password? [Y/n] YNew password:Re-enter new password:Password updated successfully!Reloading privilege tables..… Success!By default, a MariaDB installation has an anonymous user, allowing anyoneto log into MariaDB without having to have a user account created forthem. This is intended only for testing, and to make the installationgo a bit smoother. You should remove them before moving into aproduction environment.Remove anonymous users? [Y/n] Y… Success!Normally, root should only be allowed to connect from ‘localhost’. Thisensures that someone cannot guess at the root password from the network.Disallow root login remotely? [Y/n] Y… Success!By default, MariaDB comes with a database named ‘test’ that anyone canaccess. This is also intended only for testing, and should be removedbefore moving into a production environment.Remove test database and access to it? [Y/n] Y- Dropping test database…… Success!- Removing privileges on test database…… Success!Reloading the privilege tables will ensure that all changes made so farwill take effect immediately.Reload privilege tables now? [Y/n] Y… Success!Cleaning up…All done! If you’ve completed all of the above steps, your MariaDBinstallation should now be secure.Thanks for using MariaDB![root@thaiops01 ~]#
ตรวจสอบ MySQL services
[root@thaiops01 ~]# systemctl status mariadb● mariadb.service — MariaDB database serverLoaded: loaded (/usr/lib/systemd/system/mariadb.service; disabled; vendor preset: disabled)Active: active (running) since Thu 2017–03–09 02:09:19 ICT; 18s agoProcess: 2382 ExecStartPost=/usr/libexec/mariadb-wait-ready $MAINPID (code=exited, status=0/SUCCESS)Process: 2302 ExecStartPre=/usr/libexec/mariadb-prepare-db-dir %n (code=exited, status=0/SUCCESS)Main PID: 2381 (mysqld_safe)CGroup: /system.slice/mariadb.service├─2381 /bin/sh /usr/bin/mysqld_safe — basedir=/usr└─2538 /usr/libexec/mysqld — basedir=/usr — datadir=/var/lib/mysql -…[root@thaiops01 ~]#
ทดสอบการใช้งาน MySQL services
[root@thaiops01 ~]# mysql -u root -pEnter password:Welcome to the MariaDB monitor. Commands end with ; or \g.Your MariaDB connection id is 10Server version: 5.5.52-MariaDB MariaDB ServerCopyright © 2000, 2016, Oracle, MariaDB Corporation Ab and others.Type ‘help;’ or ‘\h’ for help. Type ‘\c’ to clear the current input statement.MariaDB [(none)]> show databases;+ — — — — — — — — — — +| Database |+ — — — — — — — — — — +| information_schema || mysql || performance_schema |+ — — — — — — — — — — +3 rows in set (0.00 sec)MariaDB [(none)]> exitBye[root@thaiops01 ~]#
3. ติดตั้ง PHP Package ดังนี้
[root@server ~]# yum install php php-mysql -y
ตรวจสอบ PHP version
[root@thaiops01 ~]# php — versionPHP 5.4.16 (cli) (built: Nov 6 2016 00:29:02)Copyright © 1997–2013 The PHP GroupZend Engine v2.4.0, Copyright © 1998–2013 Zend Technologies[root@thaiops01 ~]#
ทำการแก้ไข Timezone เป็น “Asia/Bangkok” บน PHP Configuration ไฟล์ php.ini ตามข้างล่าง
[root@thaiops01 ~]#vi /etc/php.ini[Date]; Defines the default timezone used by the date functions; http://php.net/date.timezonedate.timezone = “Asia/Bangkok”[root@thaiops01 ~]#
จากนั้นทำการ Restart httpd อีกครั้ง เพื่อ Reload Configure ข้างต้น
[root@server ~]#systemctl restart httpd[root@server ~]#systemctl status httpd
ทดสอบการใช้งาน PHP บน httpd
[root@thaiops01 ~]#mkdir web[root@thaiops01 ~]#cd /root/web[root@thaiops01 web]#echo “<?php phpinfo(); ?>” >> index.php[root@thaiops01 web]#[root@thaiops01 web]# lltotal 4-rw-r — r — 1 root root 20 Mar 9 02:31 index.php[root@thaiops01 web]#[root@thaiops01 web]# php -S 0.0.0.0:8080PHP 5.4.16 Development Server started at Thu Mar 9 02:40:23 2017Listening on Document root is /root/webPress Ctrl-C to quit.
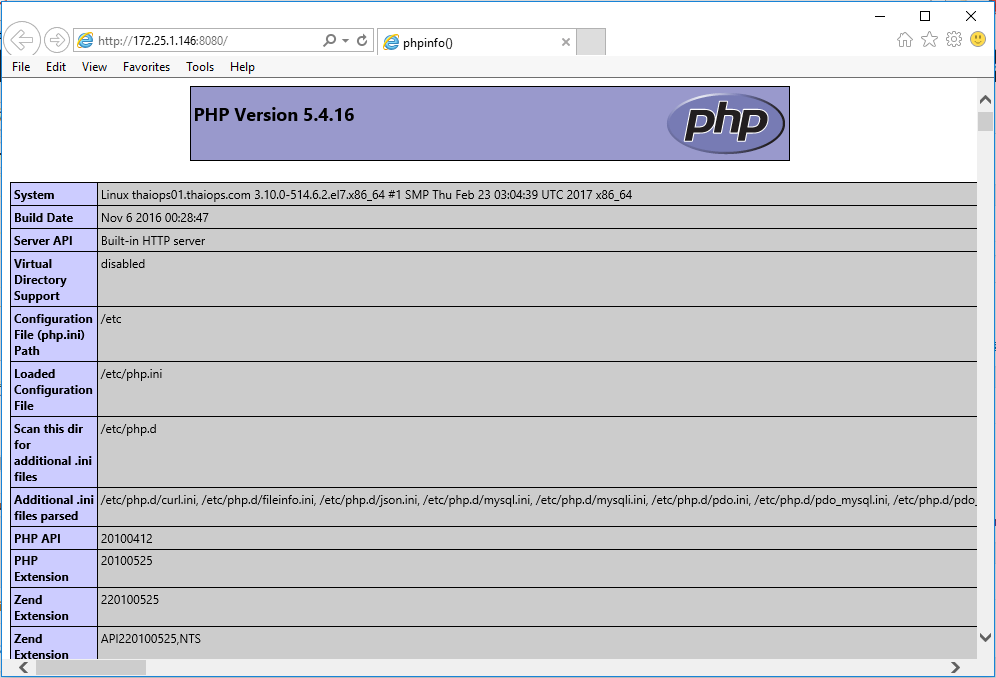
จากนั้นให้เปิด Web Browser แล้วพิมพ์ช่อง URL เป็น http://IP-Address-Server:8080

ถ้าเปิดเว็บได้แบบนี้ ก็เป็นอันเสร็จในส่วนของ PHP จากนั้นก็ดำเนิน Ctrl+C และลบ Folder web ทิ้งได้เลยครับ
[root@thaiops01 web]# php -S 0.0.0.0:8080PHP 5.4.16 Development Server started at Thu Mar 9 02:40:23 2017Listening on Document root is /root/webPress Ctrl-C to quit.[Thu Mar 9 02:40:34 2017] 172.25.1.1:17707 [200]: /[Thu Mar 9 02:40:34 2017] 172.25.1.1:17708 [404]: /favicon.ico — No such file or directory^C[root@thaiops01 web]#[root@thaiops01 web]# cd ~[root@thaiops01 ~]# rm -rf web[root@thaiops01 ~]#
4. ติดตั้ง PhpMyAdmin ดังนี้
[root@thaiops01 ~]# yum install epel-release -y[root@thaiops01 ~]# yum install phpmyadmin -y
ทำการแก้ไขไฟล์ phpMyAdmin.conf ที่ Apache ดังนี้
[root@thaiops01 /]# httpd -vServer version: Apache/2.4.6 (CentOS)Server built: Nov 14 2016 18:04:44[root@thaiops01 /]#[root@thaiops01 ~]# vi /etc/httpd/conf.d/phpMyAdmin.conf……….Alias /phpMyAdmin /usr/share/phpMyAdminAlias /phpmyadmin /usr/share/phpMyAdmin<Directory /usr/share/phpMyAdmin/>AddDefaultCharset UTF-8<IfModule mod_authz_core.c># Apache 2.4<RequireAny>Require ip 127.0.0.1Require ip ::1Require ip 172.25.1.0/24</RequireAny></IfModule><IfModule !mod_authz_core.c># Apache 2.2Order Deny,AllowDeny from AllAllow from 127.0.0.1Allow from ::1</IfModule></Directory><Directory /usr/share/phpMyAdmin/setup/><IfModule mod_authz_core.c># Apache 2.4<RequireAny>Require ip 127.0.0.1Require ip ::1</RequireAny></IfModule><IfModule !mod_authz_core.c># Apache 2.2Order Deny,AllowDeny from AllAllow from 127.0.0.1Allow from ::1</IfModule></Directory>
………
Require ip 172.25.1.0/24 คือ Network Address ที่เราให้สามารถเข้าใช้งาน PhpMyAdmin ได้ครับ
เมื่อ Configure เสร็จข้างต้นก็อันเชิญ Restart ตัว httpd ได้เลยครับ
[root@thaiops01 ~]# systemctl restart httpd
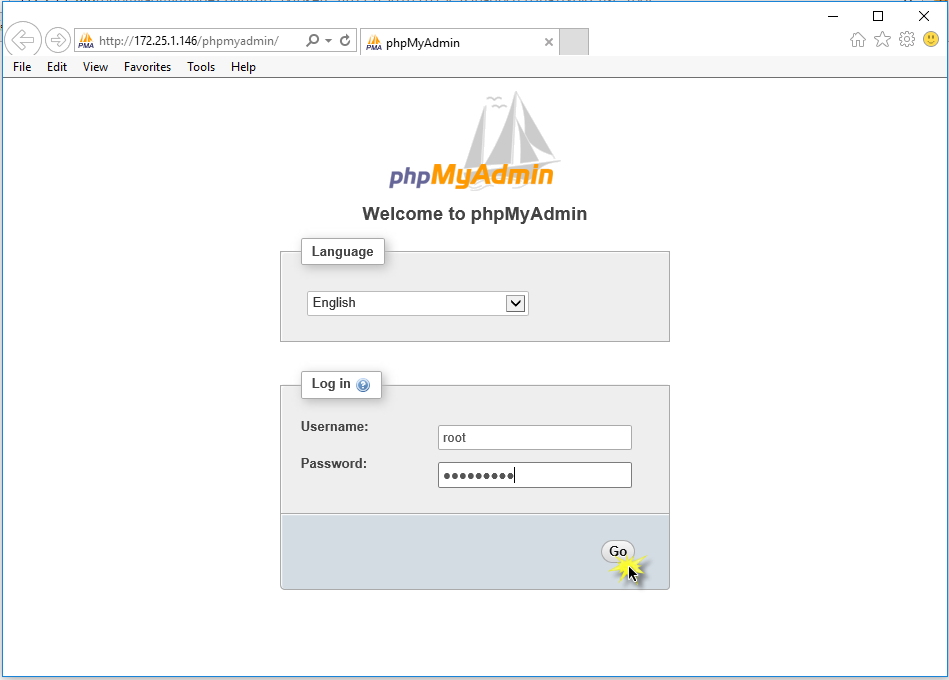
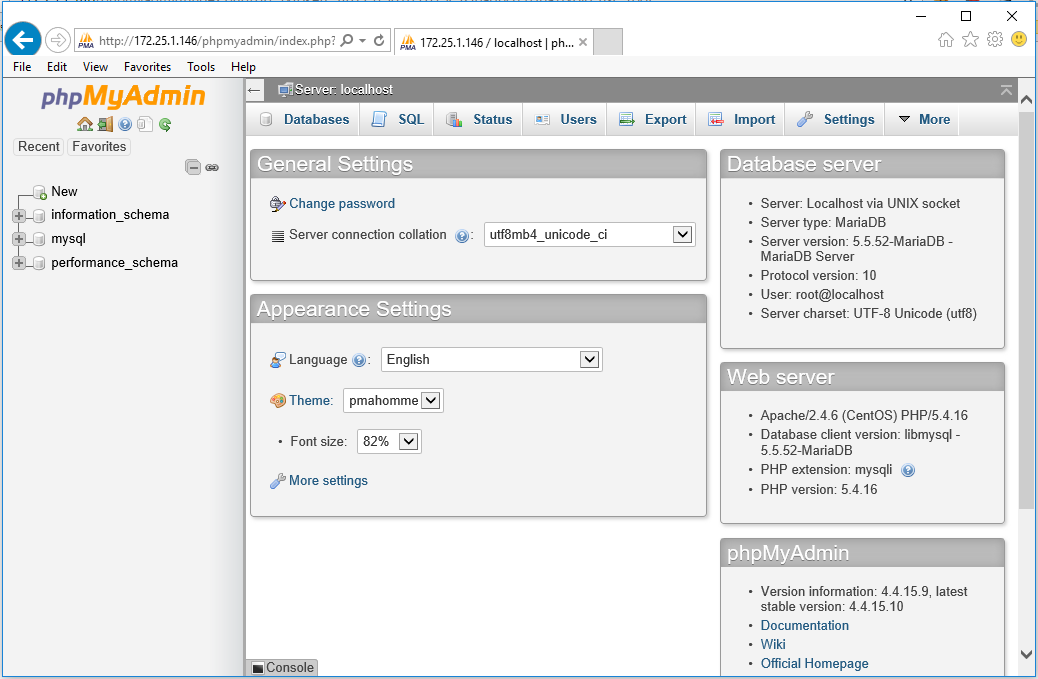
จากนั้นให้เปิด Web Browser แล้วพิมพ์ช่อง URL เป็น http://IP-Address-Server/phpmyadmin และทำการทดสอบ Login ด้วย root และรหัสที่ได้ตั้งไว้ในข้อ 2 ดังนี้


ก็น่าจะเสร็จสมบูรณ์แล้วครับ ขอจบแค่นี้ก่อน เดี๋ยวจะยาวไปครับ